

Siding Installation in Slinger, WI
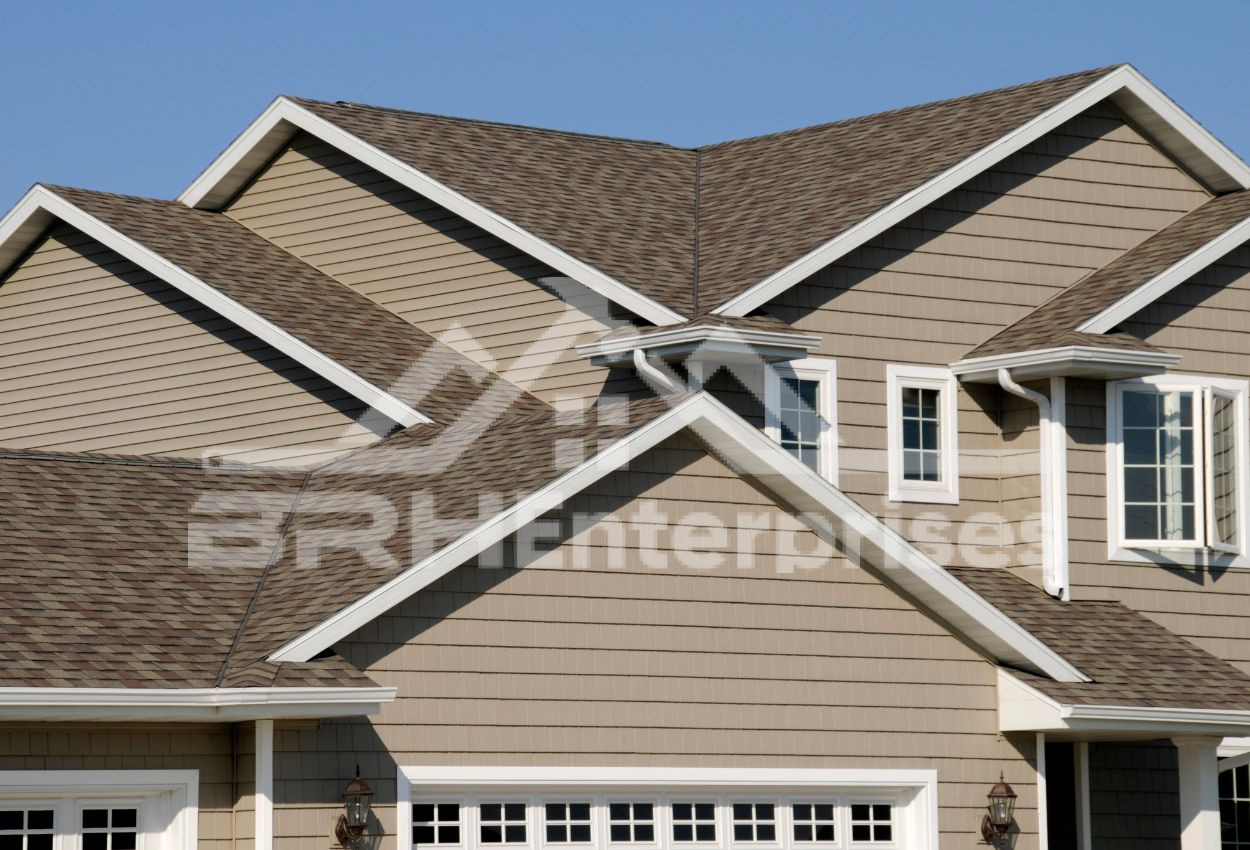
Your siding faces stress year-round in Slinger. Humid summers bring thunderstorms and strong winds, then winter arrives with cold, heavy snow and temperature changes that never seem to settle. That mix pushes moisture into seams, knocks panels with flying debris, and makes materials expand and shrink repeatedly. Color fades too, and the lower walls near corners and downspouts are often the first places trouble shows up.
Depending on your home’s age, you could be dealing with worn exterior materials, outdated weather protection, damaged trim, or an addition that never matched the rest of the house.
BRH Enterprises LLC offers professional siding installations for local homeowners. The goal is an exterior that sheds water, stays tight against the wind, and looks right from the street.
How Your Siding Project Comes Together
Each stage of a siding job has its own purpose, from the first walk around the house to the final check of the finished walls. Here’s how BRH Enterprises LLC handles siding installations in Slinger:
- Step 1: Inspection
We start by looking over your existing siding, trim, and the lower sections of each wall for stains, dents, and worn spots. If your home has older wood siding, we carefully evaluate it before removing anything. - Step 2: Recommendation
If your siding can stay as is, or only needs a small fix, we say so. Doing only what your walls need is the right call, even when that means a smaller project. - Step 3: Style Selection and Pricing
We go over vinyl siding profiles, colors, and options, including how each fits the look and upkeep you want. You receive a written work plan with pricing before we begin. - Step 4: Installation
We remove the old siding and check the wall underneath, repairing any damage before new panels go up. We protect the landscaping, driveway, and entry areas while the crew works, and we clean the site at the end of each day. - Step 5: Final Review
When installation is done, we walk the finished exterior with you, looking at corners, trim lines, and seams. Anything that needs a touch-up gets fixed before the job is complete.
Details That Matter in Slinger, WI
Much of a proper siding installation is in the details you never see once the panels are up. These decide whether the walls stay dry and tight for years:
- Moisture control behind the panels: A water-resistive barrier, flashing at windows, doors, and wall openings, and a drainage path to the outside keep stray water from settling in your walls.
- Fastening that holds: Corrosion-resistant fasteners need the right placement and spacing. Vinyl has specific wind-resistance requirements, and each panel must be fastened following the manufacturer’s installation instructions.
- Space at the bottom edge: Siding should sit above soil and paved surfaces, following Wisconsin’s building code and each manufacturer’s clearance requirements. That gap limits how much moisture the lowest panels absorb.
- Best time to build: Summer and early fall give the most consistent handling and fastening conditions.
Design Choices That Shape the Finished Look
Once the walls are sound, the choices you make about style, color, insulation, and trim decide how your home looks and performs for years. These are the options worth settling before the first panel goes up:
Profile and Texture Choices
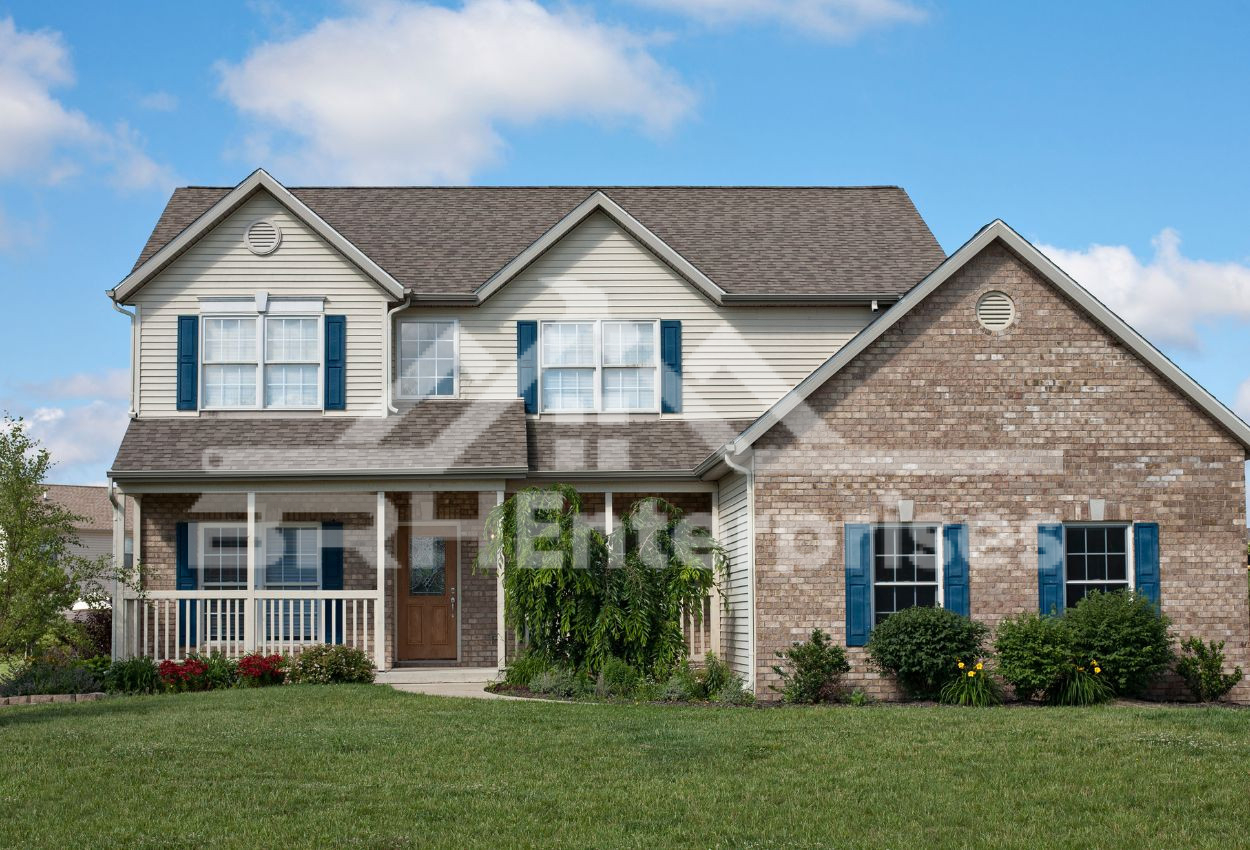
Vinyl siding comes in horizontal lap, vertical panel, and shingle-style looks, and each one changes how your house looks from the street. Choosing a profile that matches your roofline keeps the exterior looking planned instead of patched together.
Color Selection and Fade Resistance
Sun exposure slowly pulls color out of lower-quality finishes. Viewing samples outside against your roof, brick, and trim helps you pick a shade you will still like years from now.
Insulation Backing Options
Foam backing can go behind vinyl siding to add a layer of insulation across the walls. It also helps flatten uneven wall surfaces, so the finished panels sit straighter.
Trim, Soffit, and Fascia Board Coordination
Siding looks unfinished if the trim around it is worn or mismatched. Updating window and door trim, soffits, and fascia boards along with the walls leaves fewer weak spots where gutters and roof edges meet the siding.