

Siding Installation in Trenton, WI
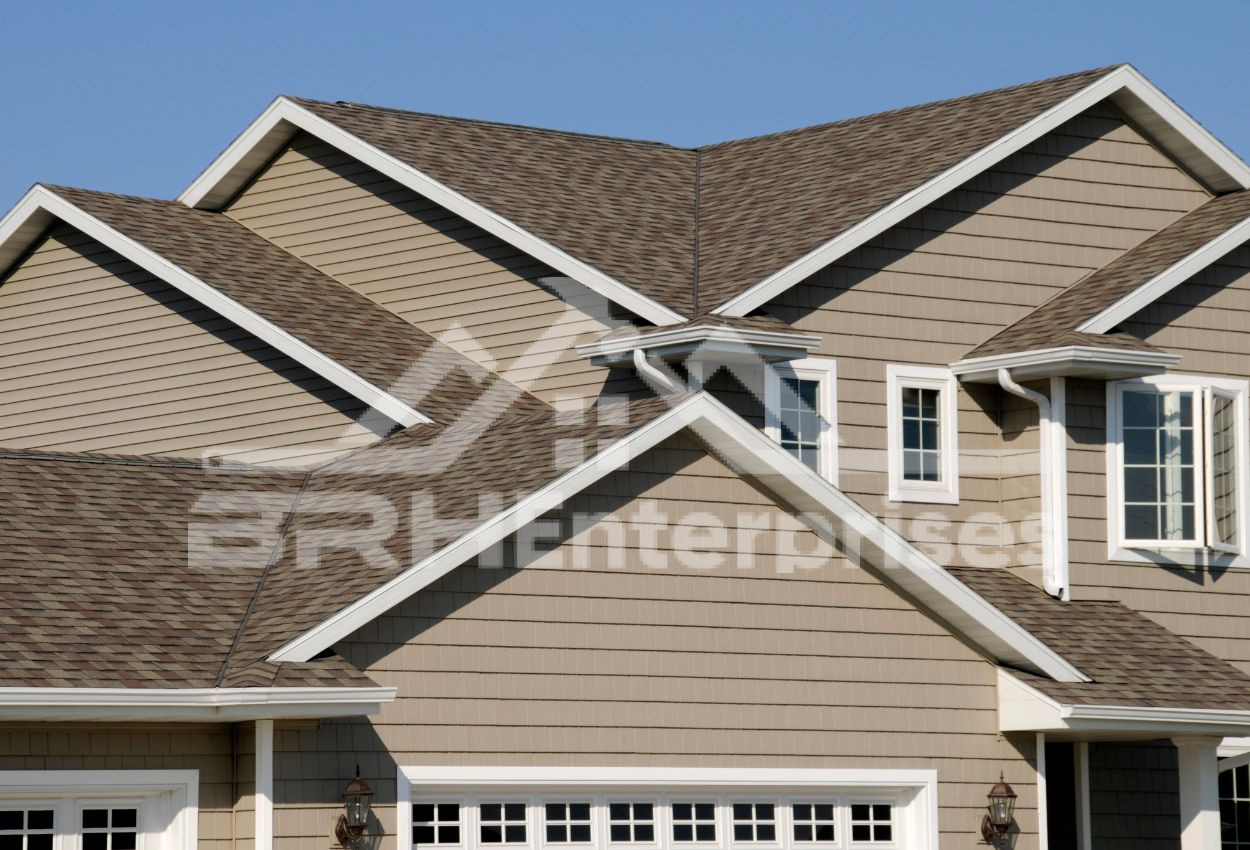
Your siding in Trenton deals with a wide range of weather. Winters are cold and snowy, summers are warm and humid, and moisture shows up year-round as rain or snow. Siding expands and shrinks as temperatures change, and moisture keeps finding gaps at seams, corners, or windows. Many homes in this rural part of Washington County are detached or farm-related residences on large lots, and their walls have had decades of that wear.
When siding gets old, the problems often start where you can’t see them. Water gets behind loose or cracked panels, soaks the wall underneath, and stays there through the next cold snap. Snow piled against the lower wall adds to the problem. Newer homes aren’t immune either, since the same weather hits every part, from the main house to an attached garage or addition.
A professional siding installation gives your walls a tight, well-detailed outer layer that sheds water and moves with the seasons. BRH Enterprises LLC is a local contractor that understands how exterior pieces work together, from the roofline down to the lower wall. We install siding with that full picture in mind, so the finished walls look sharp and keep moisture out year after year.
How Your Trenton, WI Siding Project Unfolds
Siding installations in Trenton go more smoothly when you know what to expect. Here is how each stage works, so you always know what is happening on your property:
- Step 1: Inspection
We start outside, looking over every elevation of the house, garage, and any additions. We check for soft spots, warped trim, and damp areas that point to hidden trouble, and we note how each wall is built. - Step 2: Recommendations
If a few repairs will do the job, we say so and explain why a full replacement isn’t needed. We only recommend work your walls actually require. - Step 3: Written Quote
We put the materials and details in writing. Permit and zoning requirements vary by property and project, so those get sorted out before work starts. - Step 4: Installation
Old siding comes off, and we inspect the underlayment and framing underneath. Any damaged wood gets fixed first, then the moisture barrier, flashing, and new siding go on. We cover shrubs, protect landscaping and driveways, and haul away debris as we go. - Step 5: Closing Inspection
We inspect the finished walls together, checking seams, corners, and trim. If something needs a tweak, we handle it before we call the job done.
Flashing and Lower-Wall Details in Trenton, WI
Most siding trouble starts at the spots where water gets a second chance to sneak in. Proper flashing and smart detailing at the bottom of the wall do more to protect your walls than the siding itself. On rural properties with additions, these details often take extra care:
- Windows and doors: Flashing at the head, sill, and sides should be layered so water runs out over the siding, not in behind it. If new windows or doors are going in too, the flashing needs to be coordinated so nothing gets covered up incorrectly.
- Roof-to-wall joints and chimneys: Where a roofline meets a wall, metal flashing sends runoff down and out. Skipping it is one of the most common causes of hidden rot.
- Pipes, vents, and fixtures: Each opening gets sealed and flashed so water can’t follow the opening into the wall.
- Flashing choices: Flashing should resist corrosion and match the metals around it. Aluminum touching copper-treated lumber can break down over time.
- Snow and ground clearance: Plowed piles, ice, and gravel hit the bottom of the wall hardest, so a good gap above the ground matters near driveways and entrances.
- Drip edges and trim: Small metal edges at overhangs and horizontal breaks push runoff out and away.
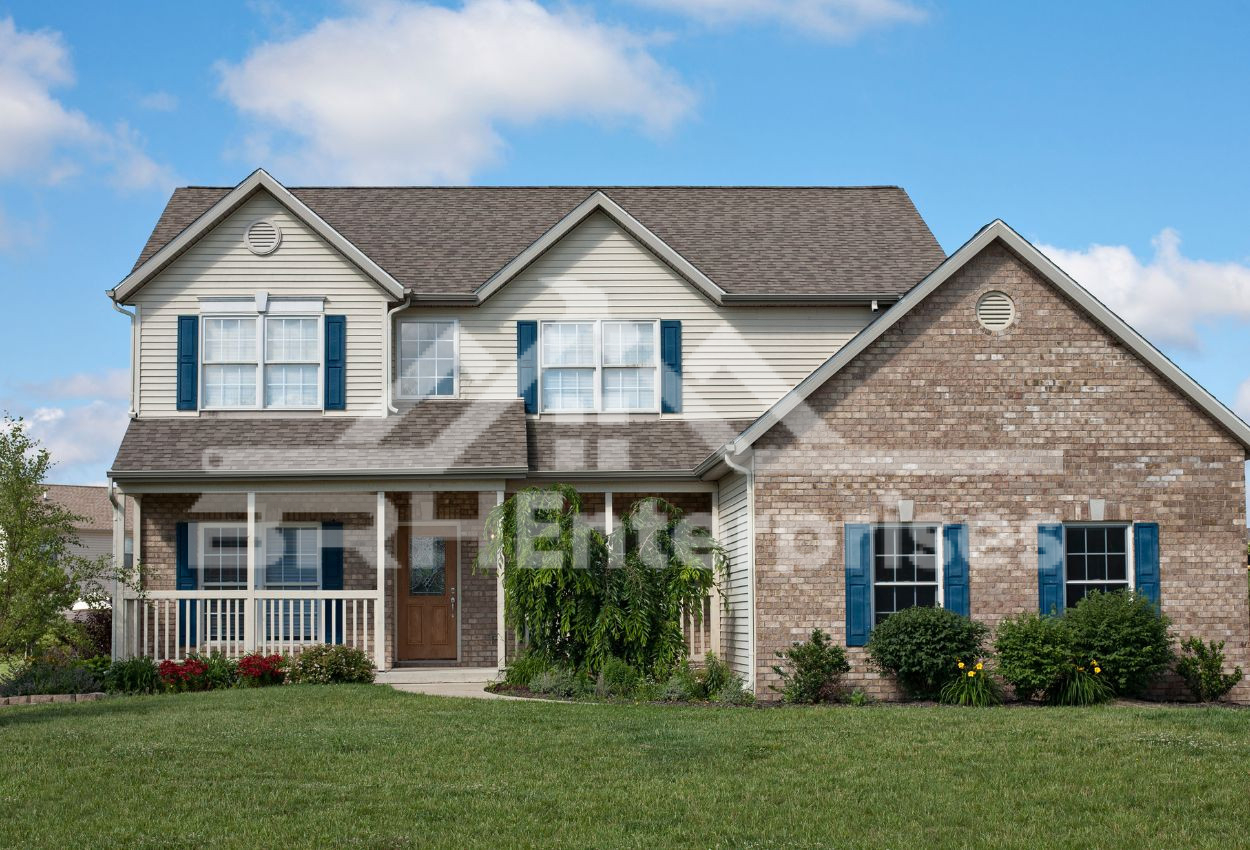
Installation Details That Last in Trenton, WI
The details of how siding goes on matter as much as the material itself. These four details help your walls handle Trenton’s seasonal swings, wind, and snow without buckling, pulling loose, or letting moisture in:
Room for Movement
Siding expands and shrinks as the seasons shift, so panels are fastened to slide a little instead of being pinned tight against trim. That keeps boards from buckling or pulling loose after a cold snap or a hot afternoon.
Matching Details on Additions
Attached garages, porches, and add-ons often have odd corners and wall transitions that need custom cuts and trim. Carrying the same profile and layout across every building keeps the whole property looking like one finished build.
Attachment Patterns
Fastener spacing and depth follow the siding maker’s directions, which helps panels stay flat and tight through gusty days and heavy snow. For larger or taller walls, this matters even more because there is more surface for wind to catch.
Trim and Caulk Finishing
Window and door casings, corner boards, and butt joints get trim and sealant that matches the siding material. Clean, sealed edges keep rain and melting snow from creeping in through the seams you see every day.