


What should you do if your roof has a leak but the roofing contractor hasn’t been able to fix it? First things first, don’t panic! I’m here with an efficient guide that could save you from expensive water damage by helping you set up an emergency roof tarp. The blog post explains emergency roof tarping and provides you with a step by step guide to tarp your roof.
What You Should Know About Emergency Roof Tarping
Emergency roof tarping acts as a protective shield for your home when the roof is compromised due to severe weather conditions or unexpected events like fires or fallen trees. Next, we will go over some of these scenarios to better understand when an emergency roof tarp is needed.
Emergency Conditions For Roof Tarping
Generally, the need for emergency tarping arises when storm damage, such as heavy wind or hail, has left your roof vulnerable to leaks. A quick response can prevent further destruction inside your home.
After a fire incident on the property, which might affect the structural integrity of parts of your house, including the roof – emergency tarping is essential. Another example would simply be wear and tear over time, which can cause gradual deterioration of the roofing material and lead to sudden leaks or collapses.
Additionally, if emergency roof repairs can’t be completed immediately due to external factors like prolonged poor weather conditions, installing an emergency roof tarp helps avoid major damage within the home until professional assistance arrives.
Step By Step Guide to Emergency Roof Tarping
Follow these steps to effectively tarp your roof and prevent further damage to your home.
1. Assess the Damage
Looking up at a damaged roof can be daunting, but it’s crucial to promptly gauge the situation and understand the severity of the situation. Before you start the emergency roof tarping procedure, knowing the extent of the damage is an essential first step. Here are some guidelines to follow when conducting this task:
Look for Visible Signs: Keep an eye out for obvious signs such as missing shingles or broken tiles on your roof. If patches of your roof seem visibly damp or you notice leaks inside your house, there is likely damage that needs attention.
Prioritize Safety: Identifying what needs fixing is important, but remember safety matters too. Stepping onto a compromised structure may result in further damage or even personal injury if handled without care. Roof inspection is better left to experts if any risk seems imminent.
Understand Water Pathways: Water often finds its way into crevices and flows far from its original entry point, meaning the visible internal leak might stem from damage located elsewhere on the rooftop. It’s important to never assume that where you see leakage inside matches precisely where roof damage is.
Setting up an emergency roof tarp greatly depends on accurate damage assessment, as it provides insights about how much area needs coverage and what type of tarp would best suit your situation.
2. Measure the Area
In a roof emergency, one key step in setting up your emergency roof tarp is taking accurate measures of the affected part. This assessment acts as vital for preparing and positioning your tarp correctly.
The first thing you should focus on is measuring the dimensions of the damaged area. Ensure that you clearly document the length and width of the area for more straightforward referencing later on. The chosen measurement tool, whether it’s a tape measure or laser distance measure, depends entirely on what is available at hand.
Don’t just measure around any broken shingles, as undetectable damage might exist underneath apparently intact shingles directly bordering the visibly affected area. It’s also recommended to add an extra three feet around all sides of visible damage to ensure sufficient coverage.
3. Prepare and Position the Tarp
Getting your emergency roof tarp in place is a crucial step, which, when done right, saves time, effort, and further distress. It’s important to note that this process takes precision and some level of skill to execute correctly.
First, you’ll need to unfold your tarp on the ground for proper examination. Ensure it’s free from holes or any damage. You’re preparing for a temporary roof cover, so it should be in the best shape possible. Remember you can use more than one tarp if necessary, and overlapping them can help ensure better coverage.
Second, plan how the tarp will sit on the roof with special attention around vents or protruding fixtures, such as chimneys, which might disrupt the flow of water on the surface. Be strategic about placing these tarps in such a way that water sheds off without collecting at such points.
Third, prepare to position your unfurled emergency roof tarp by hoisting it onto your damaged rooftop. This part can be tricky, especially during adverse weather conditions such as heavy wind or rain.
4. Secure the Tarp
It’s critical to securely fasten your emergency roof tarp to ensure it keeps the elements out and prevents further damage effectively. While using ropes might seem like enough, it is crucial to note that a roof emergency can escalate quickly without sufficient temporary solutions.
The following are steps to secure a tarp on the roof:
- Roll one end of your tarp around a 2×4 plank.
- Use wood screws to secure the rolled up tarp end onto the damaged roof area.
- Repeat the process on all sides, making sure your tarp is pulled tight.
- And finally, use sandbags or wood boards to weigh down every edge to ensure no wind gusts get underneath.
These guidelines should help in successfully implementing roof tarping during an emergency.
Potential Drawbacks Of Not Tarping Your Roof
Ignoring an obvious need for emergency roof tarping can have costly repercussions later on. Besides immediate concerns such as leaks leading to water infiltration, other long term impacts include:
- Increasing structural decay caused by ongoing exposure to the elements.
- Higher repair costs later on due to extensive damage.
- The growth of mold and mildew, which also affects indoor air quality.
- Compromised insulation, which leads to inefficient energy use and higher bills.
To avoid such scenarios, prompt implementation of a roof tarp when faced with these circumstances can help tremendously.
How Much Does Emergency Roof Tarping Cost?
The cost of emergency roof tarping varies based on certain factors, such as the nature of damage, the size of the area needing coverage, labor rates, and the location of the damage. On average, homeowners can expect expenses to range from $150 to $350 for DIY installation. If you need a consultation from professional roof tarping services near you, roof tarping may cost between $400 and $600. But keep in mind that the total cost will vary depending on the factors mentioned above.
Contact A Local Roofing Contractor For Emergency Tarping In Wisconsin
When it comes to handling a roof emergency, it’s important to get in touch with a local roof repair contractor as soon as possible. Calling professionals to emergency roof tarp your roof offers several benefits that can help mitigate further damage and streamline the insurance claim process.
If severe weather or an unexpected event damages your roof, don’t hesitate to call the team at BRH Enterprises. We offer emergency roof solutions 24/7 to protect your home from further damage. Contact BRH Enterprises today at (920) 249-4228 to talk to a professional roofer.
FAQs
A. Emergency roof tarps are not designed to be a permanent solution but rather a temporary fix until professional repair work can be done. Generally, a high quality emergency roof tarp will last around three months. That being said, weather conditions heavily influence this timeframe. Longer exposure to harsh elements such as strong winds and heavy rain may damage the integrity of the tarp, shortening its lifespan.
A. Securing an emergency roof tarp correctly is essential in preventing further damage to your property. Start by stretching out your tarp evenly over the damaged area making sure any exposed roofing is appropriately covered. Applying roofing nails or screws onto the edge of the tarp into secure spots on your roof deck or exterior wall brace provides proper anchorage. Alternatively, you can use 2×4 boards to sandwich the edges of the tarp together then secure them with roofing nails to help ensure your tarp stays in place.
A. While stapling may seem like an easy option for affixing a tarp onto your roof during an emergency, it’s generally not recommended, especially if you’re dealing with high speed winds. Staples don’t have the holding capacity of cap nails or screws and could easily become dislodged under pressure from wind and rain.
A. A superior emergency roof tarp primarily comprises polyethylene, a sturdy and weather-resistant plastic material known for its durability. The best ones in the market usually have UV-ray protection and are both water and mildew-resistant. For extra strength against tearing or ripping, look out for tarps made with ripstop material.
A. While an emergency roof tarp can protect your home from further damage, it’s important to remember that it is intended strictly as a temporary measure until full repairs are done. Leaving the tarp on for an extended period may result in more serious problems later down the line, like rotting woodwork or mold infiltration. Always contact professional roofing services promptly to repair your damaged roof.
Related Articles
-
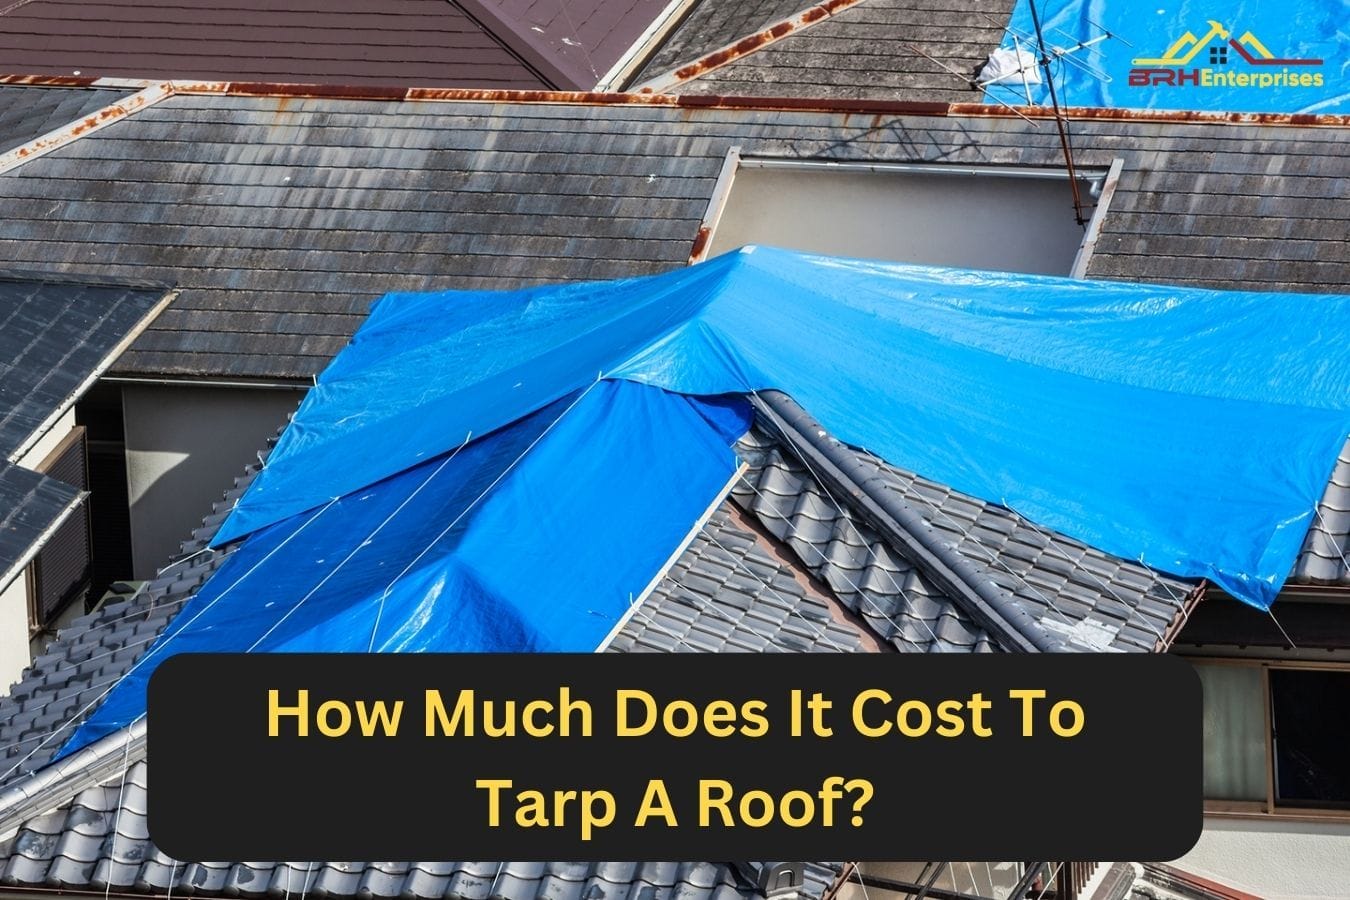 November 28, 2023How Much Does It Cost To Tarp A Roof?When it comes to protecting your home from the elements, your roof is your first line of defense. But what … <p class="link-more"><a href="https://bestroofhelp.com/blogs/cost-to-tarp-roof/" class="more-link">Continue reading<span class="screen-reader-text"> "How Much Does It Cost To Tarp A Roof?"</span></a></p>
 -
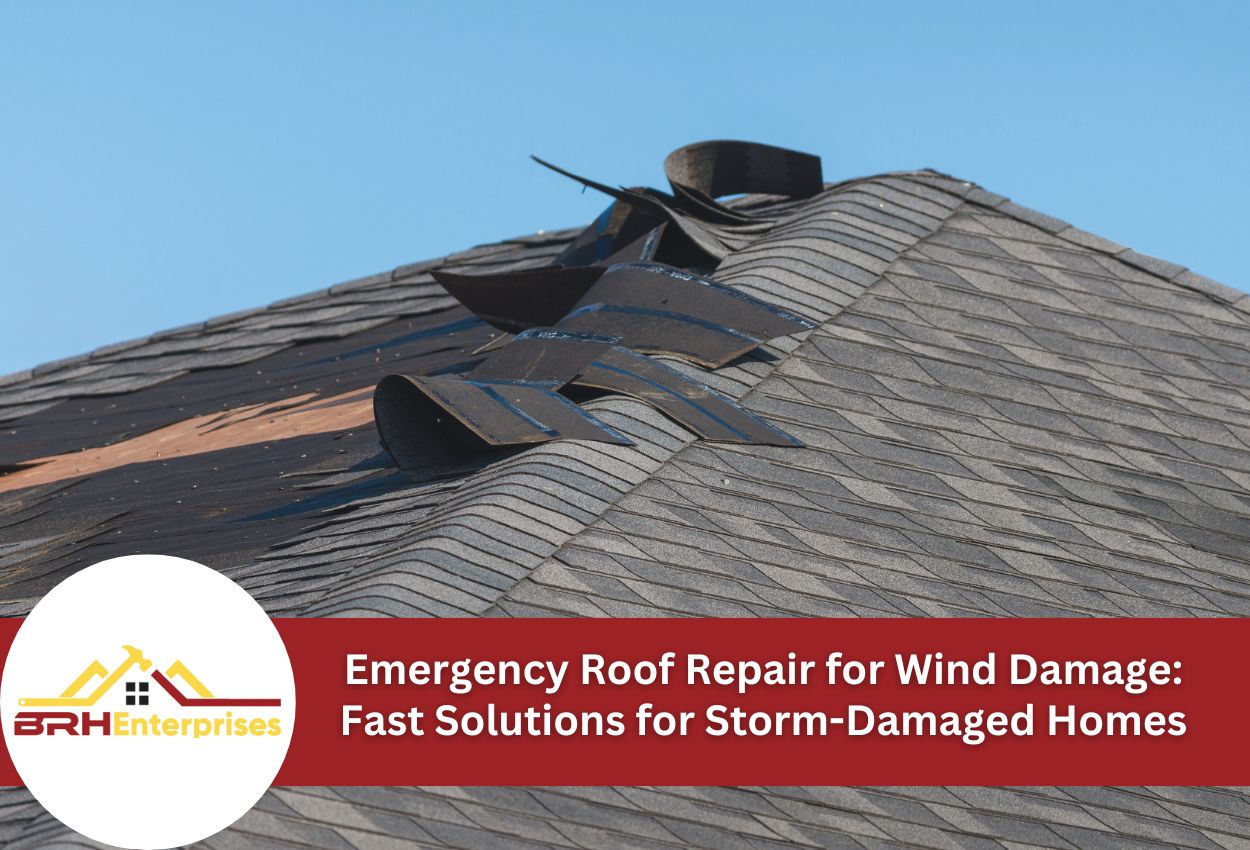 August 3, 2025Emergency Roof Repair for Wind Damage: Fast Solutions for Storm-Damaged HomesHas strong wind damaged your roof? Get prompt emergency repairs to prevent further issues.
 -
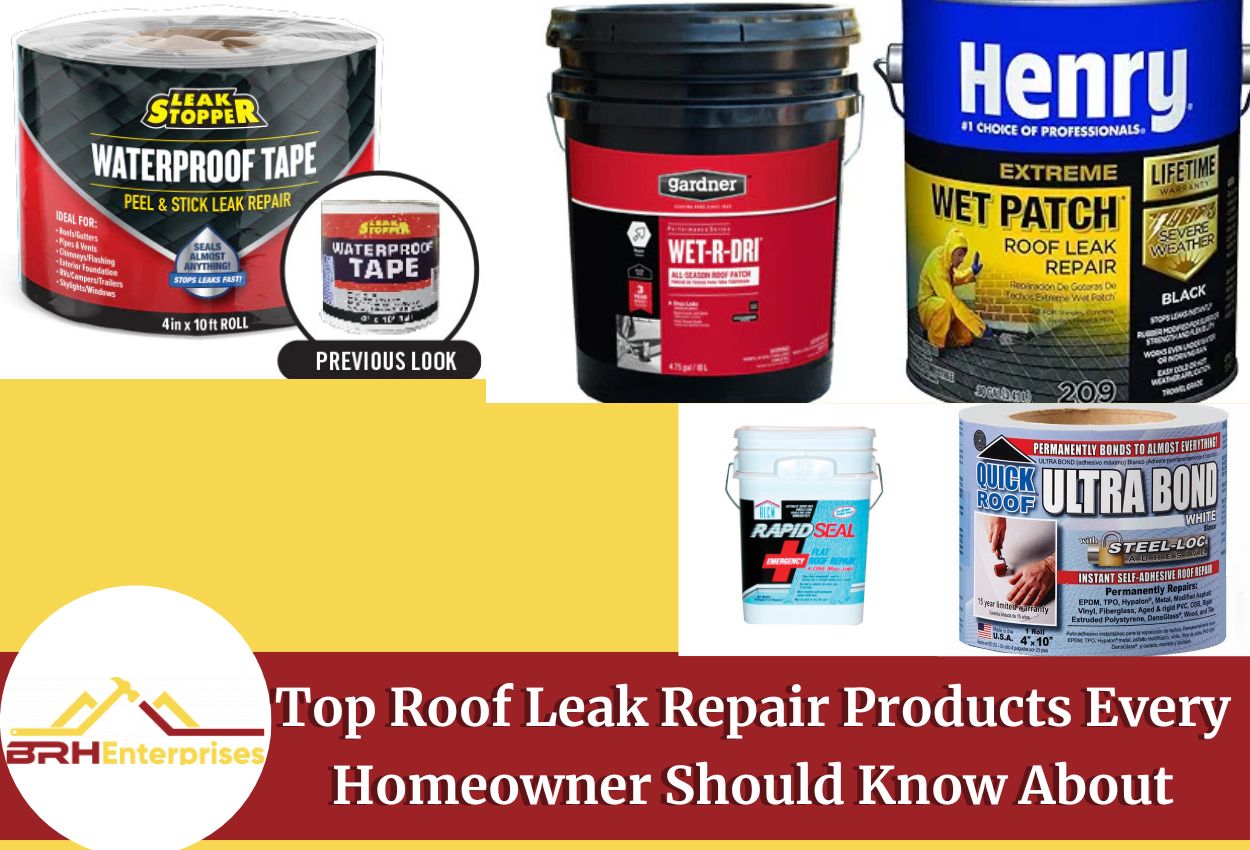 November 25, 2024Top Roof Leak Repair Products Every Homeowner Should Know AboutA leaking roof is a big problem for any homeowner. Roof leaks can create various problems in roofs and the … <p class="link-more"><a href="https://bestroofhelp.com/blogs/roof-leak-repair-products/" class="more-link">Continue reading<span class="screen-reader-text"> "Top Roof Leak Repair Products Every Homeowner Should Know About"</span></a></p>
Protect Your Home with Expert Roofing
Don’t wait for leaks or storm damage to cause costly repairs. Our experienced roofing team provides fast, reliable service, high-quality materials, and lasting results. Ensure your home stays safe, secure, and looking great—contact us today for a free estimate.