While removing vinyl siding can be tackled by many DIY enthusiasts with minimal damage, others may prefer to enlist the help of professionals. Regardless of the method chosen, it’s important to note that removing vinyl siding will require a bit of time, effort, and financial investment.
If you want to remove vinyl siding yourself or know more about the process involved in removing it professionally, this article is for you. This blog post on how to remove vinyl siding will help you through the process from beginning to end. Read this guide till the end for successful project completion.
Step 1: Gather the Necessary Tools and Materials
Whether you choose to DIY or hire professional assistance for vinyl siding removal, gathering the required tools and materials is essential for successful project completion. The successful removal of vinyl siding includes gathering the necessary tools, removing the old siding panels, checking for any damage or repair, cleaning off the work area, and disposing of vinyl siding for recycling.
The necessary tools for removing vinyl siding include a siding removal tool or pry bar, a hammer, a zip tool, a utility knife, a ladder, gloves, goggles, a dust mask, and trash bags for debris disposal. This is a general list of the tools you’ll need to use but depending on where you live and the complexity of the project, professionals may use more specialized tools.
Step 2: Prepare the Work Area
Setting up a designated work area is crucial when removing vinyl siding from your home or business. The dust and debris produced during the removal process can damage nearby furniture, plants, and landscaping, potentially causing deterioration. Before detaching vinyl siding panels, make sure to either tarp or relocate nearby furniture, materials, and household items. Taking these precautions will help prevent any potential damage and maintain the integrity of the landscaping while you remove the vinyl siding.
Though removing vinyl siding and disposing of it isn’t a risky task, it may cause you trouble if you don’t take proper safety measures. Therefore, ensure you cover your face with a mask and wear working gloves.
Step 3: Remove the Vinyl Siding

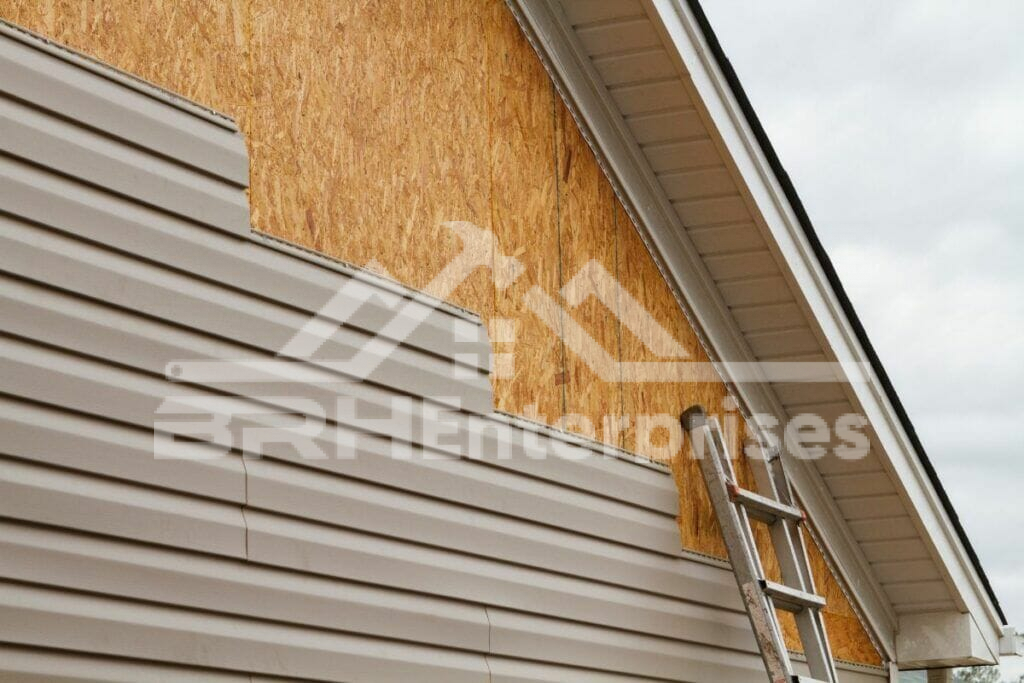
Before removing vinyl siding panels, you must start at the top and work your way down using a siding removal tool or ply bar. Below, we’ve listed some of the required steps to follow.
1. Gather the necessary tools: You will need a pry bar, a hammer, a utility knife, and possibly a zip tool, which is a specialized tool for unlocking vinyl siding panels.
2. Locate the starting point: Look for a corner or an area where the vinyl siding appears to overlap another piece. This is usually where you can begin removing the siding.
3. Remove the corner piece: Insert the pry bar behind the corner piece of vinyl siding and gently lift it until it releases from the locking mechanism. Use the hammer to carefully tap the pry bar if needed but avoid using excessive force to prevent damaging the siding or the wall underneath.
4. Unlock the remaining panels: Once the corner piece is removed, you can use the zip tool (if necessary) to unlock the remaining panels. Insert the zip tool into the bottom edge of the panel and slide it along the edge while applying gentle pressure to unlock the panel from the one below it. Repeat this process for each panel until all of them are unlocked.
5. Remove the panels: Once all the panels are unlocked, you can start removing them. Use the pry bar to carefully pull away and nails securing the panel in place and pull the panel away from the wall. Be cautious not to bend or damage the panels as you remove them.
6. Clean up and inspect the wall: After removing all the vinyl siding, inspect the wall underneath for any damage or issues. Repair or replace any damaged areas as necessary.
Overall, your goal is to remove the siding without causing any damage.
Step 4: Handle Obstacles and Obstructions
A. Dealing With the Trim, Fascia, and Soffit
While removing vinyl siding, you may encounter the trim, fascia, and soffit, which you must address. The trim is typically installed around windows, doors, corners, and other areas where the vinyl siding meets other surfaces. Depending on the specific installation method used, you may need to carefully remove or loosen these components before or after removing the vinyl siding panels.
B. Handling Windows, Doors, and Other Openings
Vinyl siding is installed around windows, doors, and other openings on the sides of your home, which may pose trouble during removal. When removing vinyl siding, it is important to carefully handle these areas to avoid damage to windows and doors. During the removal process, vinyl siding might generate dust and debris, which can harm your windows’ transparency. Therefore, take precautions like covering the windows and doors with a protective material before removing the siding.
Step 5: Clean Up and Dispose of Debris
A. Proper Disposal of Vinyl Siding
After removing the vinyl siding, it’s necessary to dispose of it properly. As vinyl siding isn’t biodegradable and can’t be put in the trash, you need to consider your local guidelines and regulations around the disposal of siding materials. Following proper disposal practices will help keep the environment protected from the harmful impacts of leaving vinyl siding out in the open.

B. Clean Up the Work Area
Once the vinyl siding removal project is complete, you may notice that it generates a lot of debris and mess, so it’s essential to clean up the work area. Collect and dispose of any loose nails, screws, or other fasteners that may have been removed along with the siding panels.
Step 6: Inspect and Repair the Underlying Surface
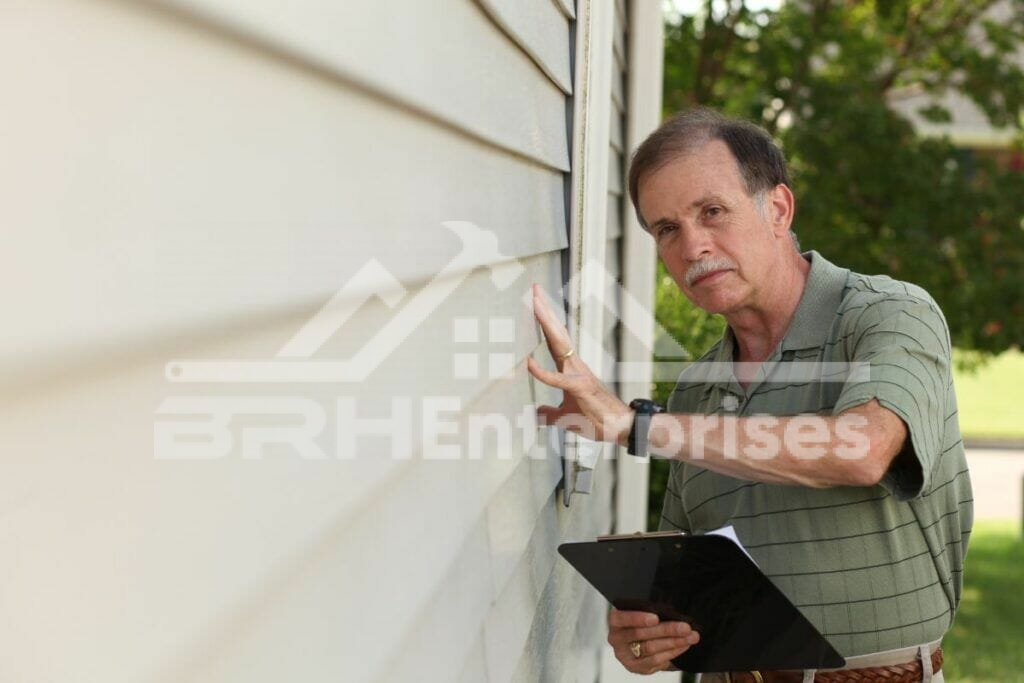
If the siding was not maintained well throughout its lifespan, moisture was likely able to seep into the walls of your home. You will notice this water damage, along with other forms of damage once you remove the vinyl siding. It is important to thoroughly inspect the underlying surface, which, if it remains unaddressed, will cause further damage to your home.

Some other forms of damage you may find include:
Insect infestation: Check for evidence of termites, carpenter ants, or other wood-boring insects. These pests can cause significant structural damage to the wooden components of your home.
Cracks and gaps: Inspect the wall for cracks or gaps in the sheathing or framing, which can compromise the structural integrity of the house and allow water or pests to enter.
Insulation issues: Check the insulation for signs of moisture, mold, or uneven distribution, which can affect the energy efficiency of your home.
Structural damage: Inspect for any damage to the framing, including rot, warping, or bowing, which may be caused by water infiltration, pests, or other factors.
Faulty or outdated weather barriers: Check the condition of the house wrap or other weather barriers, as outdated or damaged materials may not provide adequate protection against water and air infiltration.
Also, repair the damage that happened to walls, windows, and doors while removing vinyl sidings. This will prepare your home for new vinyl siding installation.
Do You Want to Remove or Install Vinyl Siding?
Many homeowners use the DIY method to remove vinyl siding, but it is essential to note you should only choose the DIY process if you have the skills and training on how to remove vinyl siding without damage. Otherwise, any damage to your property while removing vinyl siding will cost you money, more than professional assistance.
Therefore, you should consider hiring professionals to remove your vinyl siding. Call the team at BRH Enterprises today, at (920) 249-4228, and our professionals will be at your doorstep to help in no time.


