Why Do My Shingles Keep Lifting? Exploring The Causes and Solutions
Estimated Reading Time : 6 Min.

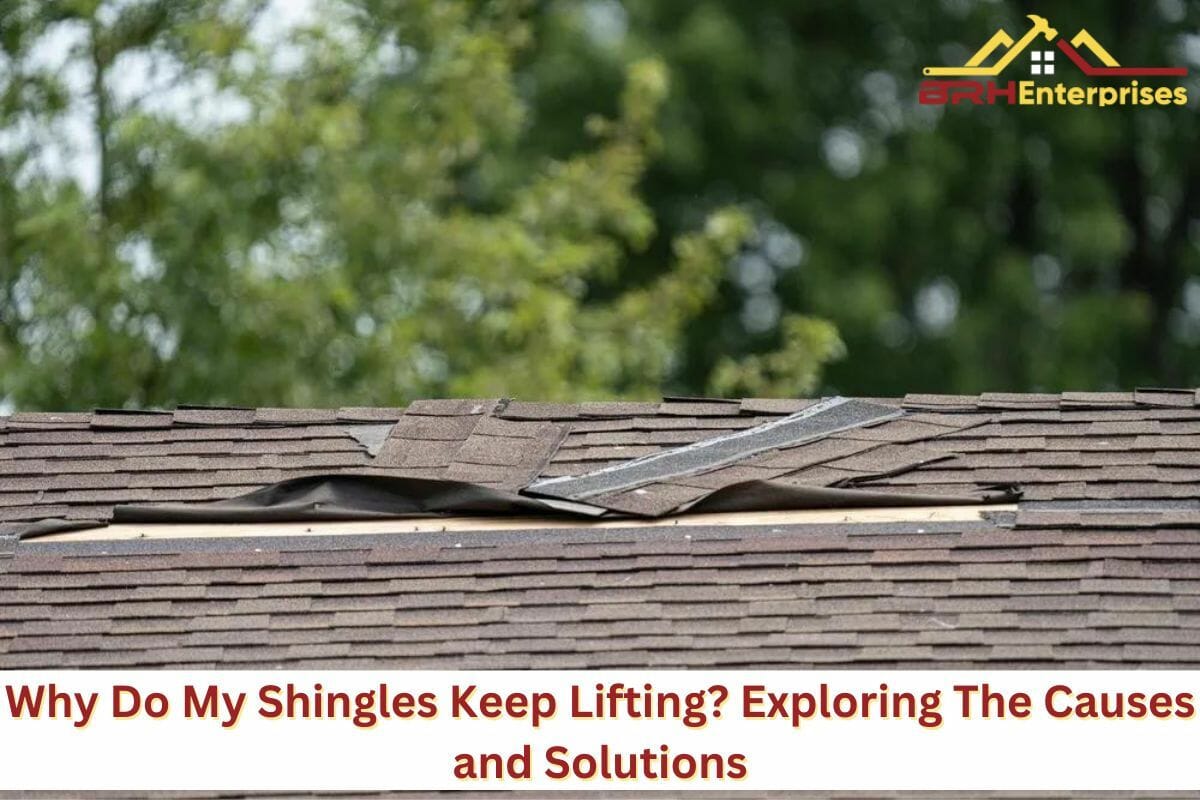
If you’ve ever looked up at your roof and wondered as to why your shingles keep lifting, you’re in the right place. Those lifted shingles seem to have a mind of their own, don’t they? But fear not. We’re about to dive deep into exploring what causes your shingles to lift, and more, so keep reading the blog post till the end to have a complete picture of what it means when your shingles are lifting.
The Anatomy Of Shingles
Before we jump into the heart of the matter, let’s take a moment to understand what shingles are all about. Roofing shingles are the overlapping rectangular pieces that make up the outermost layer of your roof. They come in various materials, including asphalt, wood, metal, and slate.
Your shingles are like the armor that shields your home from the elements. They’re your home’s first line of defense against rain, wind, snow, and hail. When the shingles start to lift, it can be due to many different factors affecting the roof.
What Causes Shingles To Curl Or Lift?

1. Aging Materials
As your shingles get older, they become more prone to lifting. Here’s why:
Wear and Tear: Over time, your shingles face the wrath of Mother Nature. Rain, snow, hail, and UV rays can cause them to lose their grip. While protecting your home for years, asphalt shingles begin to degrade or deteriorate, which high winds can then easily lift up.
Material Breakdown: The material shingles are made out of doesn’t last forever. They’re made of materials like asphalt or wood, which degrade over time and lead to curling or lifting.
2. Extreme Temperatures
Extreme weather conditions can wreak havoc on your shingles.
Excessive Heat: Prolonged exposure to heat can cause your shingles to dry out and curl.
Cold Snap: On the other hand, exposure to continuous freezing temperatures can make shingles brittle. When they become brittle they easily lift up with the wind.
3. Poor Installation
Sometimes, the blame for shingles lifting lays equally on the shoulders of the contractor who installed them. If your shingles were installed incorrectly, they’re more likely to curl and lift:
Nail Placement: If the nails securing your shingles are improperly placed, your shingles can lift prematurely, exposing the roofing deck.
Lack of Adhesive: Proper adhesive application is crucial during installation. If it’s done half-heartedly, your shingles won’t bond effectively and may start lifting.
4. Poor Ventilation
Your attic and roof need to breathe! Inadequate ventilation can turn your roof into a stuffy attic in the summertime:
Heat Buildup: Without proper ventilation, heat can build up in your attic. This excess heat can press up against the roof deck and lead to lifting.
5. High Humidity
Humidity can be your roof’s friend or foe, depending on the circumstances:
High Humidity: In humid climates, shingles may absorb moisture and swell. When they dry, they can curl or lift.
Low Humidity: Conversely, in dry climates, shingles may become parched and brittle. This makes them prone to lifting when faced with the slightest challenge.
Also Read: 9 Common Roof Problems In Wisconsin: Is Your Roof At Risk?
What Happens If You Leave Your Shingles Lifted Or Curled?

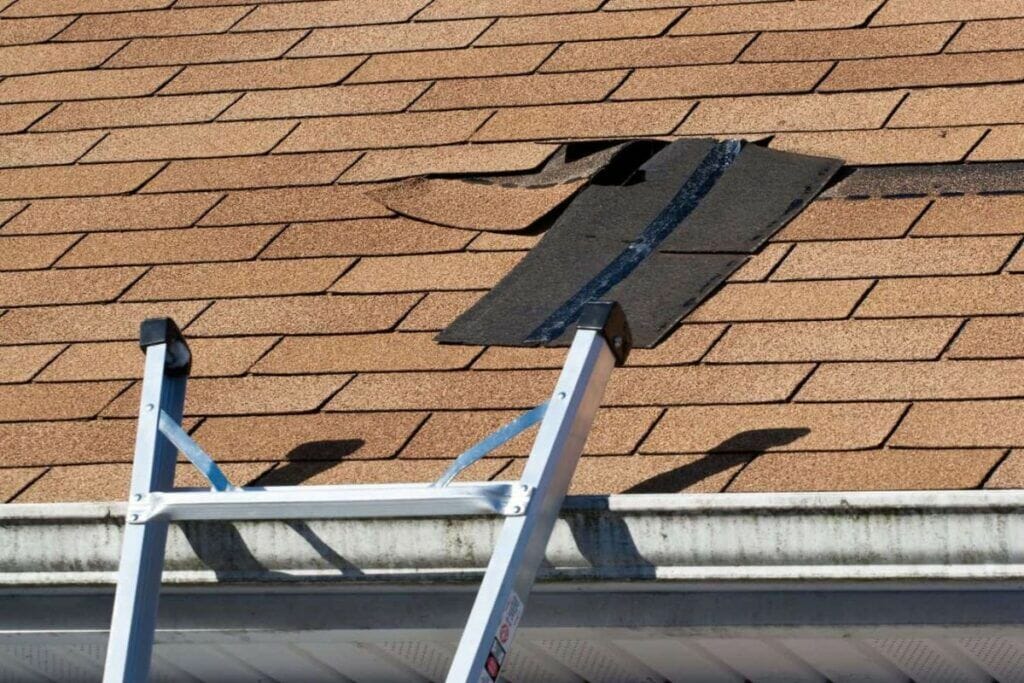
Leaving your shingles in a state of curling or lifting up, can have many negative consequences. The first and most immediate consequence is roof leaks. When shingles are lifted up or curled, they create openings for rainwater to sneak in, leading to expensive water damage repairs.
1. Reduced Energy Efficiency
Shingles are more than just armor, they also contribute to your home’s insulation. Damaged shingles can compromise your home’s energy efficiency, allowing precious warmth to escape during winter and cool air to seep out in the summer.
2. Structural Damage
Over time, neglected shingles can result in structural damage to your roof, which may necessitate extensive repairs. The water seeping behind the shingles can rot the underlying roofing structures, leading to potential repairs or replacements. Moreover, with constant exposure to moisture and the sun, the roof deck will remain susceptible to collapse.
3. Mold and Mildew Growth
Moisture trapped beneath lifted shingles can create a breeding ground for mold and mildew, posing health risks and causing unsightly stains. You can easily spot mold and mildew growing beneath the shingles. The spores of mold can enter your home through the air and cause potential health issues.
4. Decreased Curb Appeal
Aesthetically, curled or lifted shingles can make your home look neglected and decrease its curb appeal, affecting its market value. The aesthetic value of your home matters a lot when it comes to selling your home, which having curled or lifted shingles won’t help you with.
Should You Replace The Entire Roof Or Just Repair The Curled Shingles?
By assessing the severity of the damage caused by shingles that are lifted up, you’ll be able to get a better idea of whether your roof needs simple repairs or a total replacement.
1. Isolated Shingle Damage
If the issue is limited to a few curled or lifted shingles and the rest of your roof is in good condition, repair may be the sensible choice. For more direction, ensure your roof is inspected by a professional who will be able to guide you in the right way.
2. Extensive Shingle Damage
However, if a significant portion of your shingles are damaged, or if the shingles have been repeatedly repaired over the years, it might be time to consider a full roof replacement. Replacing an entire roof, in this case, can help you in the long run.
Check out our extensive blog post to find out when the Best Time For A Roof Replacement in Wisconsin.
3. Your Budget Considerations
Consider your budget carefully. Repairing shingles is generally more cost-effective in the short term. However, if your roof is older and likely to require frequent repairs, investing in a replacement may save you money in the long run. So, carefully make your choice keeping in mind future expenses.
4. Consult A Roofing Expert
When faced with the dilemma of repair or replacement, it’s wise to consult a professional roofing expert. They can assess the condition of your roof, consider all relevant factors, and provide expert advice tailored to your specific situation.
How To Fix Lifting Roof Shingles

Follow the step-by-step procedure mentioned below to repair the damaged shingles.
1. Safety First
Before you climb up to your roof, prioritize safety. Ensure you have a stable ladder, appropriate safety gear, and a clear, dry day to work on your roof.
2. Gather Your Tools and Materials
To repair curled or lifted shingles, you’ll need:
Tools
- A utility knife or roofing knife
- Roofing cement or adhesive
- A caulking gun
- Roofing nails and a hammer
- A pry bar or a flat bar
Materials
- Replacement shingles (matching the style and color of your existing ones)
- Roofing tar paper (if needed)
- A roofing sealant
Assess the Damage
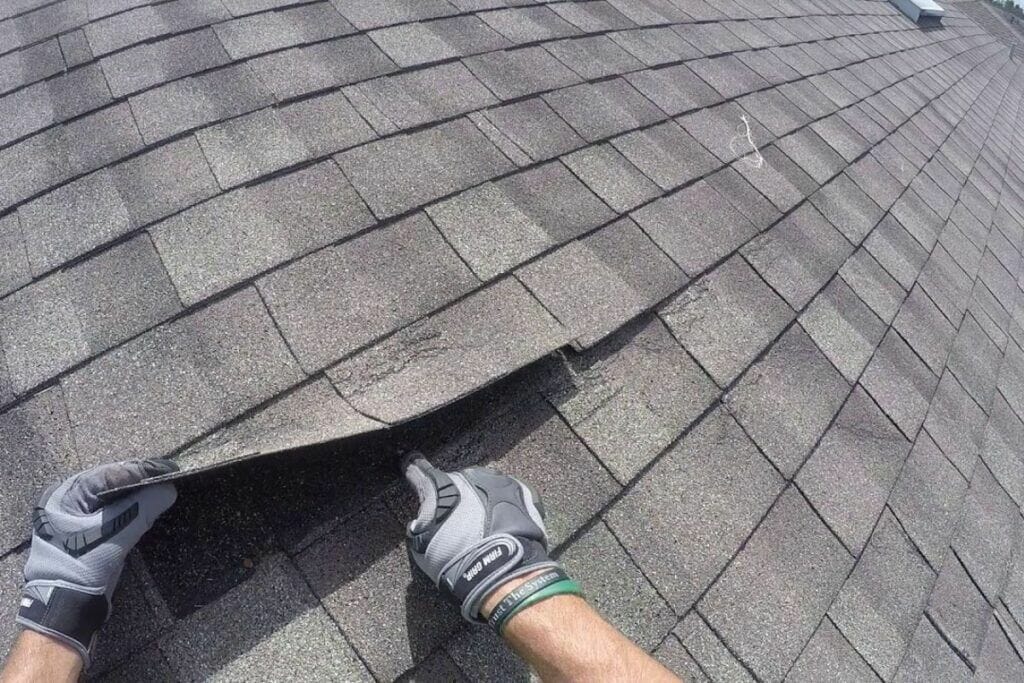
Inspect the area with curled or lifted shingles to determine the extent of the damage. If the shingles are only slightly curled, you might be able to reattach them without needing replacements. However, you will need to replace the severely damaged or torn shingles.
3. Lift the Affected Shingles
Using your pry bar or flat bar, gently lift the affected shingles to access the area beneath. Be careful not to damage the shingles further during this process, as they may be soft and worn out.
4. Remove Nails and Old Adhesive
If there are nails or old adhesive under the lifted shingles, carefully remove them using your tools. Take extra care not to damage the surrounding shingles or the underlayment underneath.
5. Apply Roofing Cement
Apply roofing cement or adhesive generously to the underside of the lifted shingle. Ensure that the adhesive covers the entire area that will be in contact with the roof deck.
6. Reattach the Shingle
Gently press the lifted shingle back into place, ensuring it adheres to the roof. Use your hand or a board to press it down firmly and evenly.
7. Secure the Shingle
To keep the shingle in place, use roofing nails to secure the corners and edges. Drive the nails through the shingle and into the roof deck, taking care not to overdrive them and crack the shingle.
8. Seal the Edges
Apply roofing sealant around the edges of the repaired shingle to create a watertight seal. This prevents moisture from seeping underneath and causing further damage.
Are Your Shingles Beginning To Lift On Your Roof?
Do you see lifted or curled shingles on your roof? If yes, you know how bad it will be to leave them in their current state. They are an open door for water to seep into your roof deck and start leaking. Don’t wait for shingles to return to their original shape, take the necessary steps and hire a professional roofer for roof inspection and repair in Wisconsin.
After inspecting the roof, one of our professionals will inform you whether your roof needs complete roof replacement or repair in the affected area. Contact BRH Enterprises, your local roofing contractor in Wisconsin, today at (920)-249-4228 and ask a roofer for your free roof inspection.


