


Your roof is often overlooked in the hustle of daily life, but it’s a crucial component of any structure. While it shields us from the elements, it is also vulnerable to the forces of nature, particularly hailstorms. Inspecting a roof for hail damage is not just a precautionary measure; it’s a necessity that can save homeowners from significant consequences.
In this comprehensive blog post, we will delve into seven essential steps in a hail damage roof inspection, emphasizing the importance of taking proactive measures to safeguard your investment.
7 Crucial Steps In A Roof Inspection for Hail Damage
It’s crucial to check your roof for hail damage following a storm to prevent further damage from occurring. Ignoring hail damage can result in more expensive repairs and more severe damage in the long run. Always remember that though inspections can be completed by homeowners, you may want to consider hiring a professional who has a detailed eye and experience checking all forms of roof damage.
Step 1: Safety First
Prioritize your safety before starting a roof inspection. Put on a protective helmet, gloves, and non-slip footwear. To avoid mishaps, check the weather forecast and steer clear of starting a roof inspection during harsh weather. Taking the right safety precautions can help ensure a much safer and more efficient inspection process, which is of the utmost importance.
Step 2: Exterior Surface Analysis
Analyzing the exterior is the first initial phase of a hail damage roof inspection. You, or a professional inspector will begin by examining the surrounding area for signs of hail damage, such as dents on cars or other metal surfaces. Close attention should be paid to metal surfaces, vents, and flashing, as these areas are particularly susceptible to the impact of hail. Use a ladder to get a closer look and take clear photographs to document any damages you observe.
Step 3: Roof Examination
After checking the area overall, the next step is to look closely at the roof. You can carefully walk around and examine the whole roof, checking for signs of hail damage like dents, cracks, and missing pieces of roofing material. It’s important that you know how past hail storms have impacted your roof to figure out which problems are more severe than others.
Nowadays, inspectors are able to use drones with good cameras to see parts that are hard to reach. This helps them check everything and decide how much damage there is. During a detailed inspection, focus on the shingles or other type of roofing material you have installed, especially along the top edge, where damage is usually worse. Also, look at metal components such as the flashing, for any signs of impact.
Step 4: Attic Inspection

Often overlooked, the attic can play a crucial role in identifying hidden damage. Check for water stains, leaks, or any signs of structural compromise. A flashlight can be quite a handy tool to spot issues that may not be easily visible. You’ll also want to look for light coming through the attic, as this is a sign of punctures and holes in the roof. Addressing attic concerns promptly can prevent further damage to the interior of your home and ensure the structural integrity of the roof overall.
Step 5: Gutter and Downspout Examination

Examining the gutters and downspouts is a crucial aspect of maintaining a healthy roofing system. These components play a crucial role in diverting rainwater away from the roof and foundation. During the inspection, it’s important to look for any signs of wind damage such as dents or cracks caused by hail impact.
These damages can hinder the overall functioning of the drainage system, leading to issues like water accumulation on the roof. Accumulated water may result in leaks and other problems. To prevent this and ensure effective water flow, it’s essential to clear any debris present in the gutters and downspouts.
This preventive measure not only helps maintain the optimal level of drainage, but also safeguards the foundation of your home from potential water-related damage.
Step 6: Document The Damage:

Documenting hail damage is a crucial step in the process of assessing and addressing issues that may have occurred to a roof. Clear photographs of hail damage are vital for supporting insurance claims. These visuals serve as concrete evidence, helping adjusters assess the damage accurately. This ensures a smoother claims process, reducing disputes and ensuring a fair settlement.
In situations involving disputes or legal considerations, having documentation is extremely valuable. Clear photographs of hail damage serve as concrete evidence supporting a homeowner’s case. This can be crucial in legal proceedings, strengthening a homeowner’s position and providing a visual narrative of the damage that occurred.
Step 7: Get Professional Help If Needed
As for the last and most crucial step, seek the advice of qualified roofing contractors who specialize in evaluating hail damage if you need clarification on the extent of the damage your roof has sustained, or if you need a more in-depth assessment. These experts can provide insight into the state of your roof with their wealth of experience.
This expertise allows them to spot possible problems that the untrained eye might miss. Speaking with roofing specialists can also help you figure out what replacements or repairs are required to handle the damage properly. By hiring experts, you can be sure of a thorough evaluation and decide on the best course of action for the repair or restoration of your roof.
Why Is The Assessment of Vulnerable Areas Important During A Hail Damage Roof Inspection?
An inspection of hail damage will focus on specific areas of the roof most prone to damage, such as shingles along unsupported ridges and valleys. These vulnerable spots are closely examined due to their higher susceptibility to hail impact. The roofing contractor also checks for damage to gutters and downspouts, crucial in preventing water damage.
Find The Best Contractor To Handle Your Roof Inspection In Wisconsin
In conclusion, conducting a meticulous roof inspection after a hailstorm is a proactive measure in safeguarding your home. By following the seven essential steps mentioned above, hail damage on your roof will be identified and hail damage promptly, preserving the integrity of your roof, and preventing further issues. Timely action is the key to ensuring the longevity and resilience of your roofing system.
If your roof, siding, or gutters have become damaged in a storm, let our team of contractors at BRH Enterprises help fix it! We’re here 24/7 because we understand how stressful dealing with unexpected problems can be. Our roofing technicians are trained to inspect roofs and find damaged shingles, plus repair the damage if required. Since our main goal is to make sure your roof gets the best, we work hard to provide storm damage repair services that are high quality and efficient. Whether it’s leaking gutters or damaged shingles, we can make your home feel like new again! Call us today for a FREE roof inspection at (920) 249-4228.

Bryce, Master Roofer
Related Articles
-
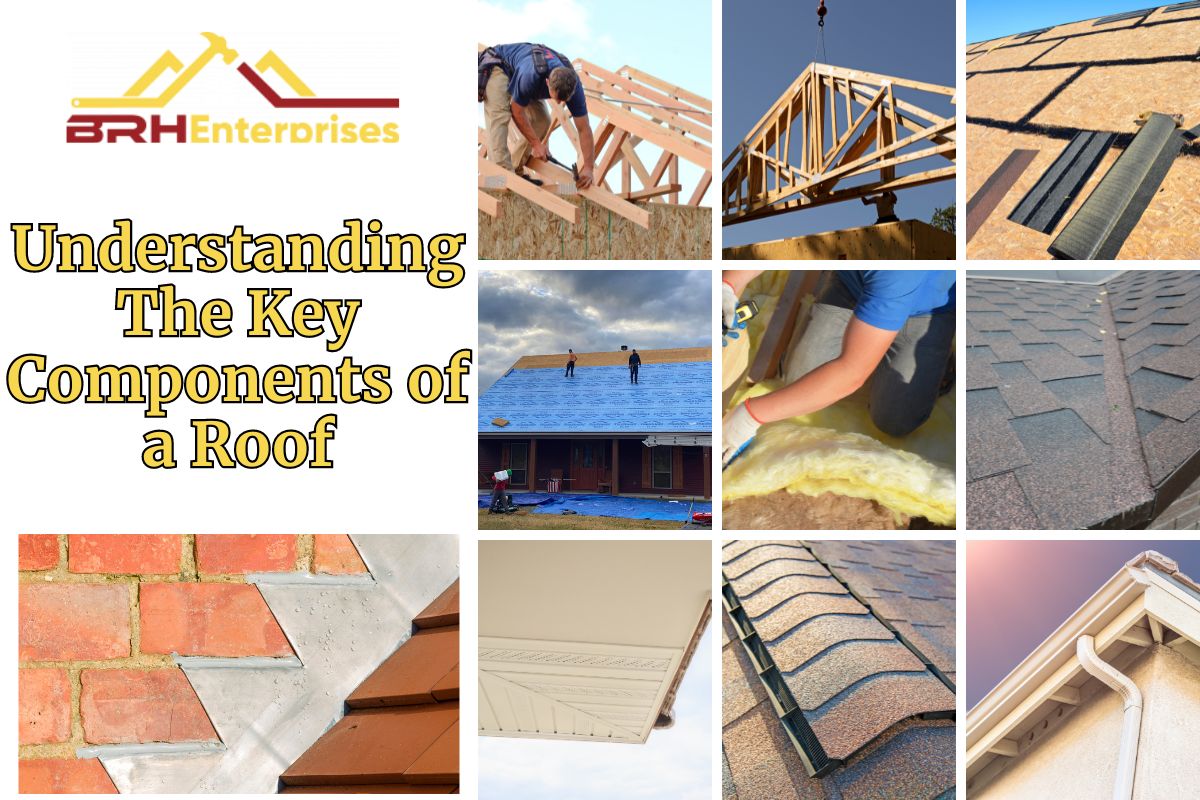 June 19, 2024Understanding The Key Components of a RoofWhile a roof looks simple at first glance, it’s actually composed of many intricate parts that allow it to function …
Continue reading "Understanding The Key Components of a Roof"
-
 July 2, 2024How Much Does It Cost to Replace A Garage Roof?Although it might not be the first thing that comes to mind when thinking about home maintenance, your garage roof …
Continue reading "How Much Does It Cost to Replace A Garage Roof?"
-
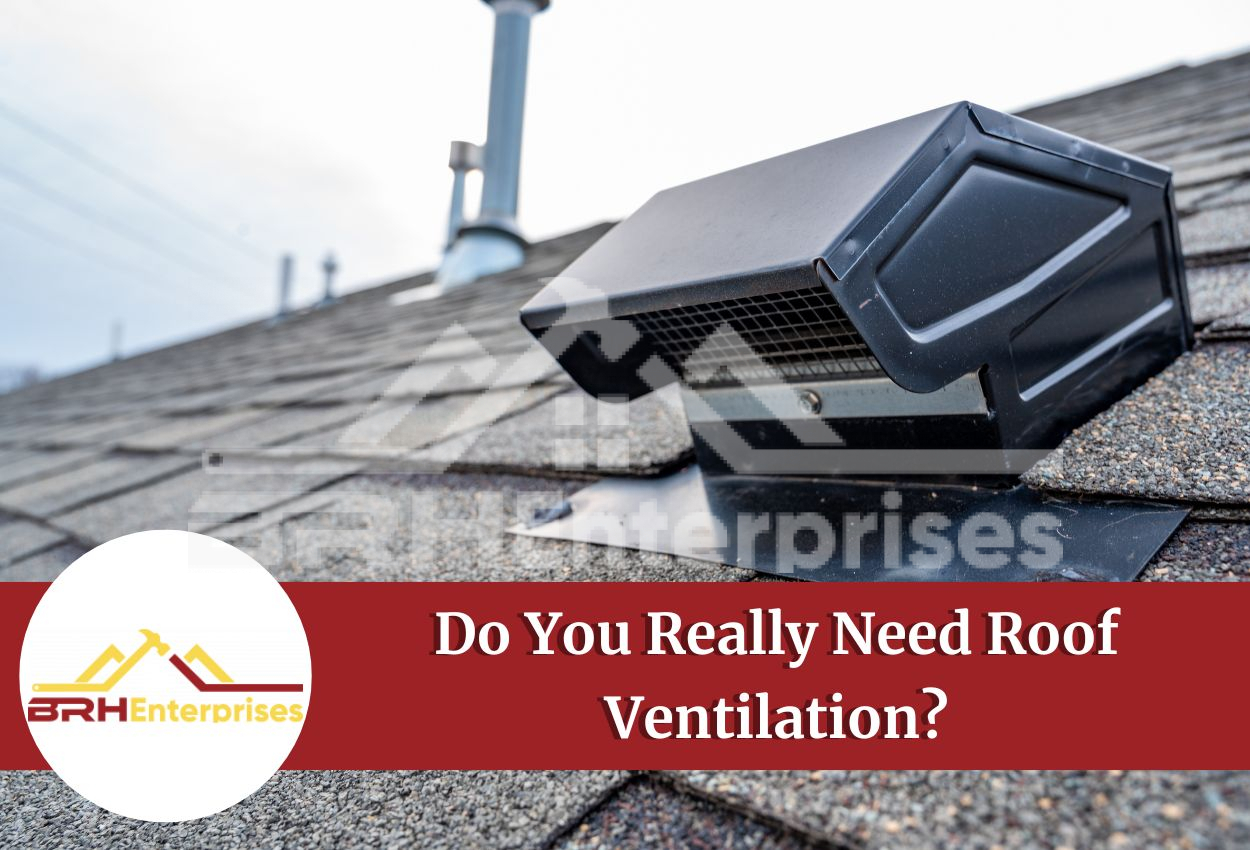 November 4, 2024Do You Really Need Roof Ventilation?Yes! Roof ventilation is an important part of any home or building. Without proper ventilation, heat and moisture can build …
Protect Your Home with Expert Roofing
Don’t wait for leaks or storm damage to cause costly repairs. Our experienced roofing team provides fast, reliable service, high-quality materials, and lasting results. Ensure your home stays safe, secure, and looking great—contact us today for a free estimate.